
So, you’re wondering where that sneaky water filter for your Keurig 2.0 is hiding, huh? It’s actually tucked away in the water reservoir. Just pop that bad boy off, and you’ll spot the filter slot with two tabs waiting for you. Some models don’t even come with a filter, so check yours out. Trust me, using a clean filter makes a world of difference in your coffee game. Stick around, and I’ll share more tips!
At a Glance
- The water filter cartridge is located in the water reservoir of the Keurig 2.0 models that include a filter.
- Some models, like the K2.0-400, do not have a water filter included.
- To access the filter, remove the reservoir and locate the filter slot with two tabs.
- The filter is inserted into a cylindrical holder before being placed back into the reservoir.
- Regular maintenance is essential to ensure optimal performance and coffee flavor.
Location of the Water Filter Cartridge
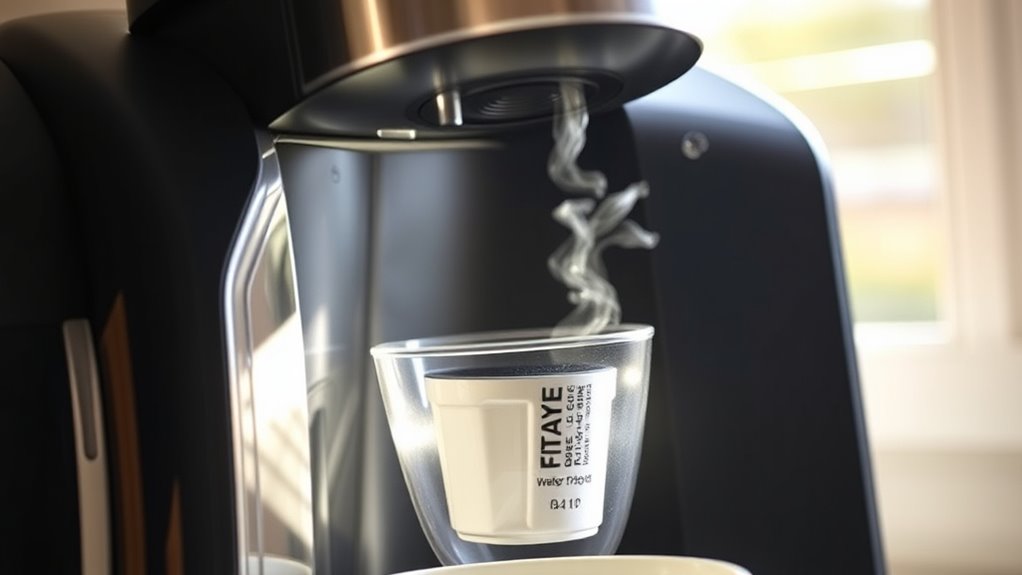
So, where exactly is that elusive water filter cartridge in your Keurig 2.0?
Well, it’s usually hiding in the water reservoir, but watch out—some models, like the K2.0-400, don’t even have one!
If yours does, just remove the reservoir, and you’ll see a filter slot with two tabs to press.
It’s all about filter accessibility, right?
Remember, model differences mean your experience might vary.
Some filters need a little TLC, like soaking before installation. Additionally, using a Keurig coffee maker with a built-in filter can enhance your brewing experience.
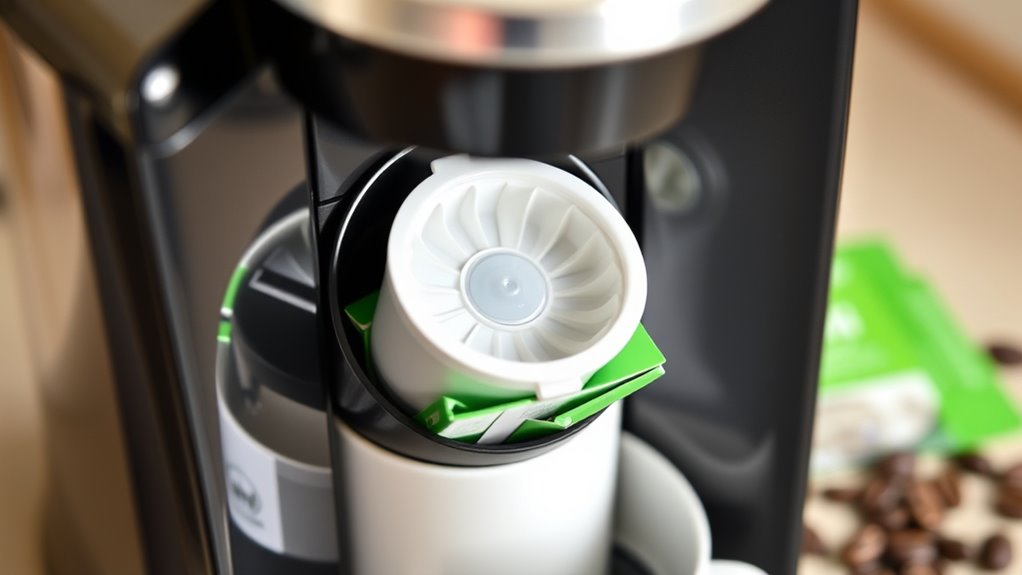
Components of the Water Filter
Now that you’ve located your water filter cartridge, let’s chat about what makes it tick!
The filter material is key here—those ultra-fine charcoal granules are like tiny superheroes, grabbing onto impurities and chlorine to boost your coffee’s flavor. They’re snugly wrapped in micro-mesh, keeping everything neat and tidy.
Plus, the BPA-free plastic holder guarantees no nasty chemicals sneak in. With a compact design, it fits perfectly in your Keurig 2.0. This clever setup not only enhances filtration performance but also keeps your machine happy and healthy, promoting optimal coffee taste for a better brewing experience. So, let’s keep that coffee game strong!
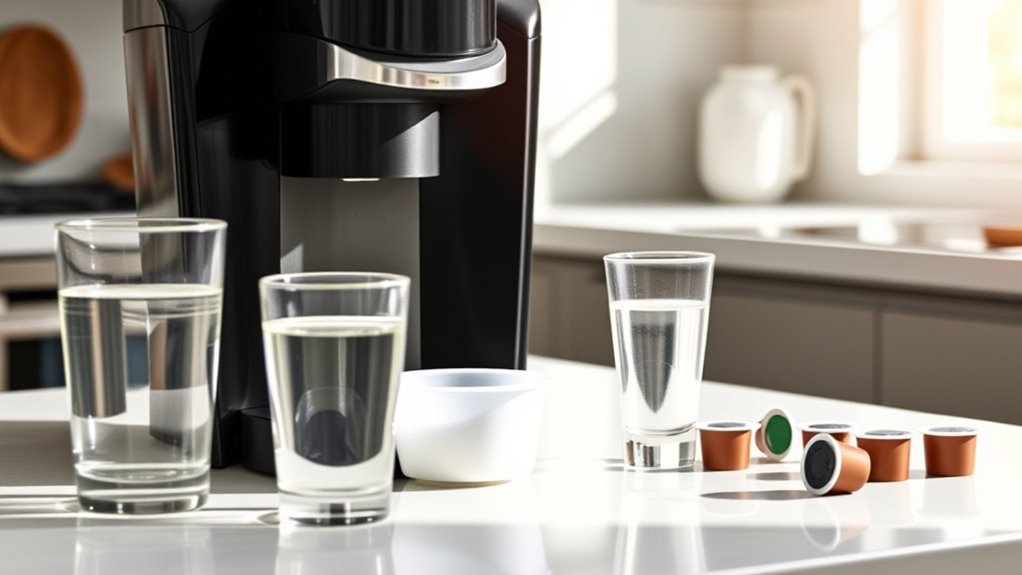
Installation Process for the Water Filter
Installing the water filter in your Keurig 2.0 is a breeze, and trust me, you’ll feel like a barista in no time! Start by soaking the charcoal filter for 5 minutes, then rinse it under running water for a full minute. Once it’s ready, pop it in the cylindrical holder and click it into place. Here’s a quick table for handy installation tips:
| Step | Action | Note |
|---|---|---|
| Soak | 5 minutes in fresh water | Maximize filtration effectiveness |
| Rinse | 60 seconds under running water | Removes loose charcoal |
| Insert | Align and snap into holder | guarantee it clicks into place |
| Reinsert | Place holder back in reservoir | Line it up snugly |
Enjoy your fresh brews! Remember, using a water filter can significantly impact the flavor of your coffee by reducing impurities and enhancing the overall brewing experience!
Replacement and Maintenance of the Filter
When you brew your favorite cup of coffee, you want it to taste just right, right? To keep that deliciousness flowing, remember that your Keurig water filter has a lifespan of about 1,000 ounces or every two months—whichever hits first! Stick to a maintenance schedule, and you’ll avoid funky-tasting brews. Don’t forget to reset that filter reminder after a swap; it’s like giving your machine a little high-five. And when it’s time for a new filter, toss the old one responsibly. Your coffee deserves only the best, so keep it fresh and clean for maximum enjoyment! Additionally, using a Keurig water filter can enhance the flavor of your coffee by removing impurities.
Troubleshooting Common Filter Issues
You might think your Keurig 2.0 is a coffee-making wizard, but sometimes it needs a little TLC to keep brewing that liquid gold.
If you notice filter clogging, don’t panic! Start by checking the water reservoir and ensuring it’s seated right. Troubleshooting errors, like “water under pressure,” often means the filter’s blocked.
Give it a good clean with a bottle brush and soapy water. If the issues persist, it might be time for a replacement. Regularly cleaning your machine will help prevent filter clogging issues, ensuring your coffee remains delicious.
Remember, regular maintenance keeps your coffee flowing smoothly, so you can enjoy every last drop of that magical brew.
Happy brewing!
Tips for Optimizing Filter Use
Optimizing your Keurig 2.0 filter’s performance can make a world of difference in your coffee game, especially if you want that perfect cup every time. Here are some handy tips to boost filter efficiency and water quality:
| Tip | Action |
|---|---|
| Soak Filter | Soak for 5 minutes in lukewarm water. |
| Clean Regularly | Wash the reservoir and filter holder. |
| Replace Periodically | Change every 2 months or 1,000 ounces. |
Additionally, using a high-quality water filter can significantly enhance the flavor of your coffee.
Importance of Using Official Filters
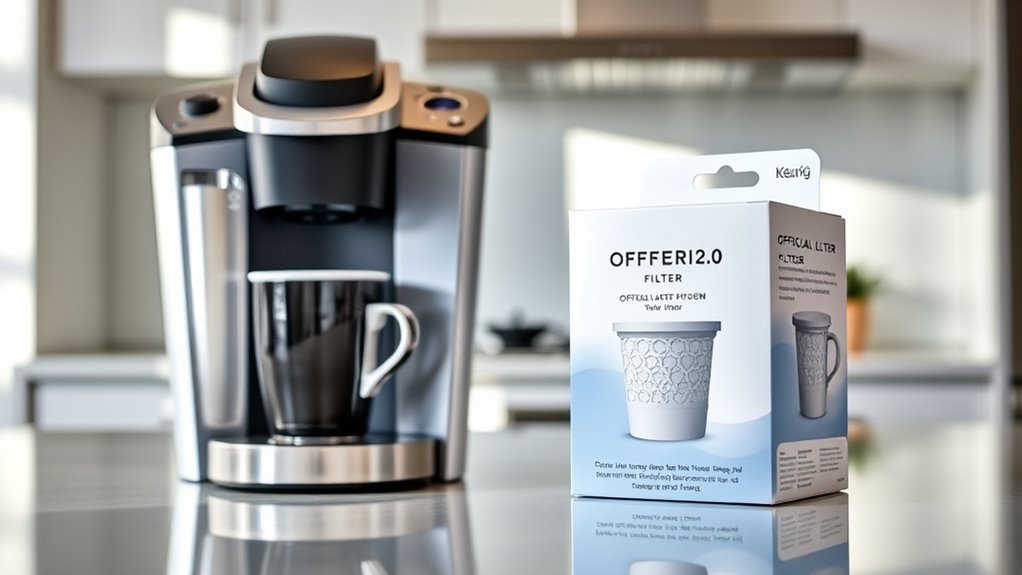
Using official filters for your Keurig 2.0 is like giving your coffee a VIP pass to flavor town. You’ll enjoy better filter performance, and your health gets a boost too!
- Say goodbye to chlorine and heavy metals!
- Experience rich, aromatic brews that wow your taste buds!
- Protect your machine from nasty limescale buildup!
- Feel confident knowing you’re sipping clean water every time!
When you choose official filters, you’re not just brewing coffee; you’re crafting an experience. Additionally, using BPA-free materials in your coffee maker ensures that harmful chemicals are kept at bay, enhancing your overall brewing experience.
It’s the secret ingredient to a perfect cup, so treat yourself and your machine right! You deserve it!
Cleaning and Care for the Reservoir
Cleaning and caring for your Keurig 2.0 reservoir isn’t just a chore; it’s a mini adventure in the quest for coffee perfection!
Start with reservoir cleaning by emptying it out and tossing any old filters. Give it a gentle scrub with warm water and mild soap—your coffee deserves the best!
Empty the reservoir, discard old filters, and gently scrub with warm, soapy water—because your coffee deserves nothing less!
Don’t forget the maintenance tips: agitate the reservoir to dislodge any pesky sediment and wipe it down with a microfiber cloth.
And hey, descaling every few months keeps things running smoothly! Just think of it as giving your coffee buddy a little spa day. Plus, using a Ninja DualBrew Pro can provide you with the versatility to brew both coffee and tea, enhancing your coffee routine.
Cheers to better brews!
Understanding Filter Replacement Reminders
If you’ve ever wondered how to keep your Keurig 2.0 in tip-top shape, understanding filter replacement reminders is key!
These reminders help maintain your machine and guarantee great coffee. Here’s what to keep in mind:
- The filter reminder pops up after brewing about 1,000 ounces.
- You’ll see it on your digital display, urging you to swap filters.
- Don’t ignore it; regular changes prevent scale buildup!
- Reset the reminder after replacing the filter to stay on your maintenance schedule.
Additionally, mastering the art of brewing perfect coffee involves ensuring your machine is always clean and well-maintained. Stay on top of these reminders, and you’ll enjoy delicious coffee every day, just like your friends!