
If your Keurig won’t turn on, don’t freak out! First, check if it’s plugged into a live outlet—no magic here, just basic stuff. Then, give the power cord a close look for cuts or melting. Hit that power button like you’re on a game show—15-20 times, or hold it for 10 seconds. Also, make sure the water reservoir is snug. If it’s still playing hard to get, stick around—we’ve got more tricks up our sleeves!
At a Glance
- Check the power outlet by testing it with another device to ensure it’s functioning properly.
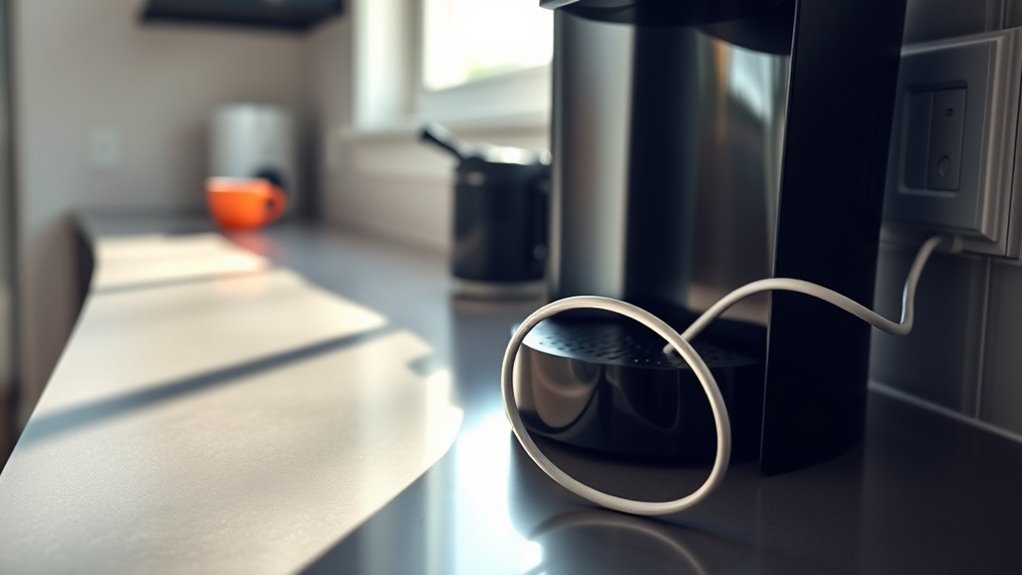
- Inspect the power cord for visible damage, such as cuts, frays, or discoloration.
- Clean and test the power button by pressing it multiple times or holding it for 10 seconds.
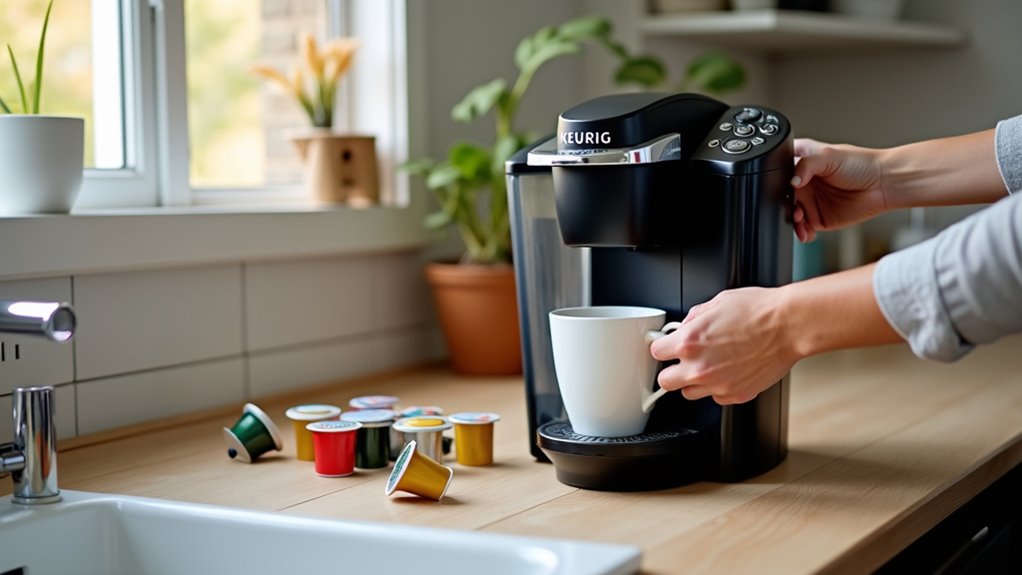
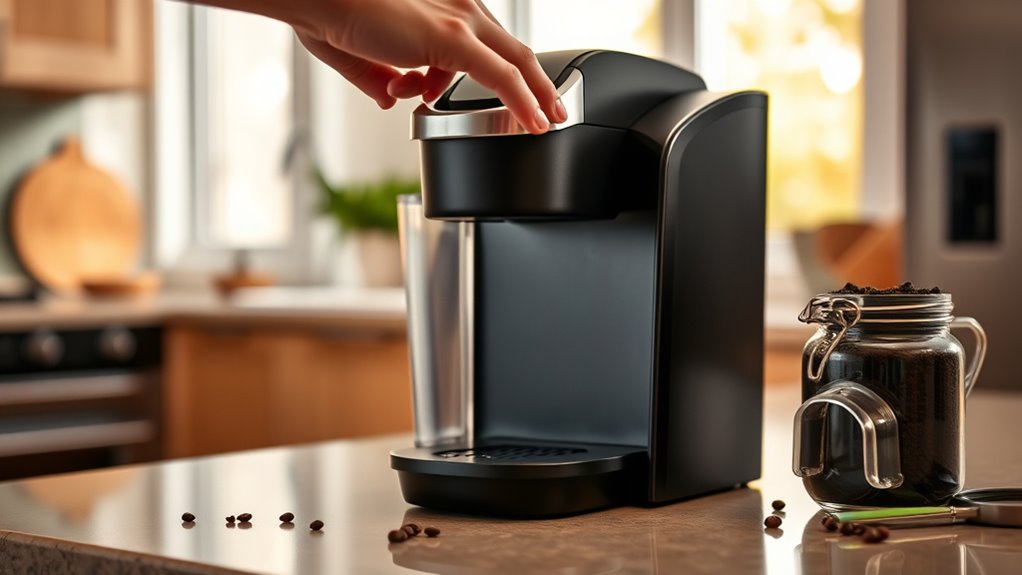
- Confirm that the water reservoir is properly aligned and securely placed on the machine.
- Unplug the machine for 30 seconds and then plug it back in to perform a basic power reset.
Confirm the Power Source
Before you start panicking about your Keurig refusing to wake up, let’s check the basics—starting with the power source.
First off, make sure that outlet’s compatible and working. Test it with another device, like your phone charger. Avoid outlets controlled by wall switches; you wouldn’t want to be that person who forgot to flip the switch!
Make sure your outlet is functioning by testing it with another device. And steer clear of wall switches—you don’t want to forget!
Check for blown fuses or tripped breakers too. And hey, if your Keurig’s still not waking up, try plugging it directly into a live outlet, skipping the extension cords for now.
Sometimes, it’s just about ensuring it meets those voltage requirements. Remember, many Keurig coffee machines come with specific power needs, so double-checking compatibility can save you a lot of headaches. You got this!
Inspect the Power Cord
Alright, let’s plunge into inspecting that power cord!
First off, give it a good once-over for any visible cord damage—think cuts, frays, or even those pesky exposed wires.
Don’t forget to check both ends where it plugs in and connects to your beloved Keurig. Look out for any odd discoloration or melting; that’s a red flag!
Kinks or bends can cause sneaky internal breaks, too. If it looks a bit sketchy, you might need a new one.
Remember, appliances like your coffee maker should ideally be BPA-free to ensure safety and health.
Trust me, a quick power cord inspection can save you from a caffeine crisis! Let’s keep your coffee dreams alive!
Check the Power Button Functionality
After checking that power cord, it’s time to turn our attention to the power button itself.
First off, give that button some love with a little cleaning—you’d be amazed how a bit of debris can cause trouble!
Try some power button testing too; you might need to press it 15-20 times or hold it down for 10 seconds.
If it’s still playing hard to get, unplug your Keurig for 30 seconds and try again.
Remember, sometimes it just needs a little reset. Using clean, fresh water can also help ensure your Keurig is functioning optimally, as water quality significantly affects flavor extraction.
If all else fails, don’t hesitate to call in the pros. Your coffee dreams deserve it!
Ensure Proper Water Reservoir Placement
Getting your Keurig up and running can sometimes boil down to one crucial aspect: the water reservoir. If it’s not aligned just right, you might be brewing a big, caffeine-free disappointment!
Make sure the reservoir fits snugly, aligning perfectly with the coffee maker’s intake for smooth water flow. Remember, it should click into place—don’t force it; that’s a recipe for disaster. Additionally, if you’re unsure about the correct Keurig machine setup, refer to the user manual for specific guidance.
Double-check for any kinks in the hose too. Once everything’s set, you’re just a brew away from that perfect cup.
Perform a Basic Power Reset

Sometimes, even when you’ve got the water reservoir perfectly in place, your Keurig might still decide to play hard to get. A quick power reset could do the trick!
Here’s how:
- Unplug your machine and leave it for 5 to 10 minutes to clear any electrical interference.
- While it’s unplugged, remove the water reservoir to keep things tidy.
- Check your power cord for any damage before plugging it back in.
Once you reconnect, press the power button, and hopefully, your coffee buddy will come back to life. Regular maintenance, including cleaning your Keurig, can help prevent such issues in the future.
Sometimes, power cycling is all they need for a fresh start!
Resetting the Keurig Machine
If your Keurig’s giving you the silent treatment, don’t worry—resetting it might just be the remedy it needs! Try these reset techniques to get it back on track using button combinations:
| Model | Steps to Reset | Notes |
|---|---|---|
| K-Supreme | Unplug, remove reservoir for 10 mins, plug back in | Clears software glitches |
| K-Express | Same as K-Supreme | Fixes unresponsive buttons |
| Descale Light | Hold 8oz + 10oz for 3 seconds | Resets descaling errors |
| General Reset | Unplug, wait, then reconnect | Helps with sensor alignment |
Additionally, if the reset doesn’t work, consider checking the removable reservoir to ensure it’s properly seated and filled for optimal performance.
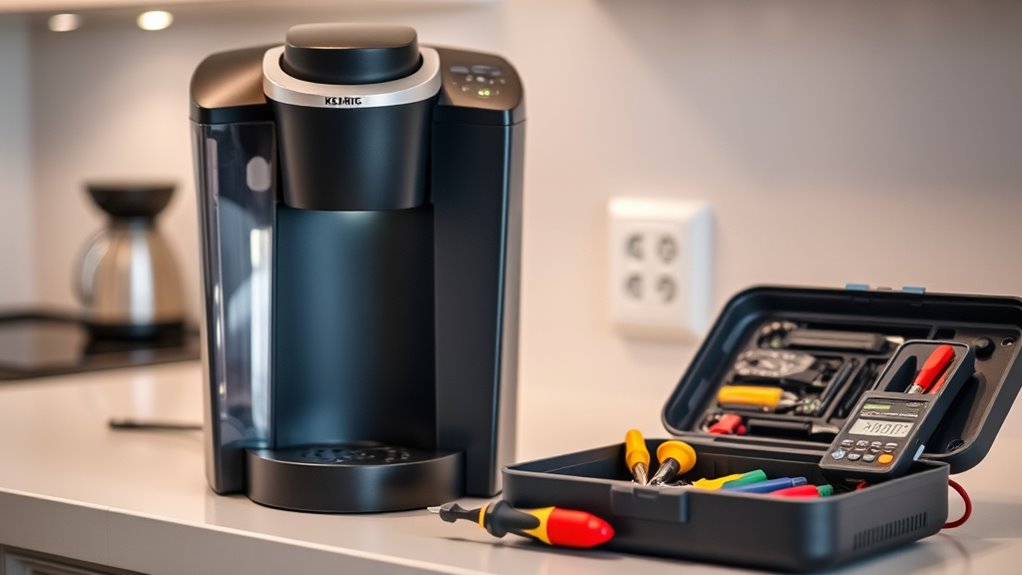
Addressing Electrical or Hardware Faults
When your trusty Keurig refuses to turn on, it can feel like a bad breakup—unexpected and a little heartbreaking! But don’t worry, let’s tackle those electrical and hardware faults.
When your beloved Keurig goes dark, it can feel like losing a friend—don’t fret, we’re here to troubleshoot!
Start with some thermal troubleshooting; check the power cord and outlet first. Here’s what to do:
- Use a multimeter to check for damage.
- Look for any resettable fuses inside.
- If all else fails, consider those tricky internal components.
Additionally, ensure that your machine is not affected by any electrical faults that could disrupt its operation, as this can lead to an unexpected shutdown. If you’re unsure about hardware diagnostics, don’t hesitate to call for professional help. Remember, it’s better to be safe than sorry, especially when it involves your beloved coffee machine!
Troubleshooting Common Related Issues
After tackling those pesky electrical and hardware faults, it’s time to sort out some common related issues that might be keeping your Keurig from brewing that much-needed cup of joe.
First, check for coffee grounds clogging those exit needles—yup, they can be sneaky!
Regular machine maintenance is key, so don’t skip descaling; it helps avoid brewing issues caused by mineral buildup.
And hey, keep an eye on that water reservoir—if it’s empty or not seated right, your machine might think it’s on a water diet. Additionally, consider the strong brew option in your Keurig model, as it may require different maintenance practices to function properly.
Power Supply and Outlet Troubleshooting
Let’s explore the wild world of power supply and outlet troubleshooting—trust me, it’s a lot more exciting than it sounds!
First, check if your Keurig’s plugged in tightly and that the outlet’s alive. Do some outlet testing with another device to rule out any power issues.
- Inspect the power cord for damage.
- Confirm the machine’s resting nicely on its base.
- Look for any tripped circuit breakers.
Additionally, ensure that your Keurig is compatible with the best keurig coffee options available to maximize your brewing experience.
User Maintenance and Best Practices
You might not realize it, but keeping your Keurig in tip-top shape can be as satisfying as brewing that first cup of coffee in the morning! Establishing a cleaning routine and regularly inspecting your pods can save you from future headaches. Here’s a handy table to guide your maintenance:
| Task | Frequency |
|---|---|
| Clean external parts | Weekly |
| Clean needle area | Every brew |
| Descale | Every 3-6 months |
| Inspect K-Cups | Before each use |
Additionally, investing in a K-Cup and coffee pot combination can enhance your overall coffee experience.