

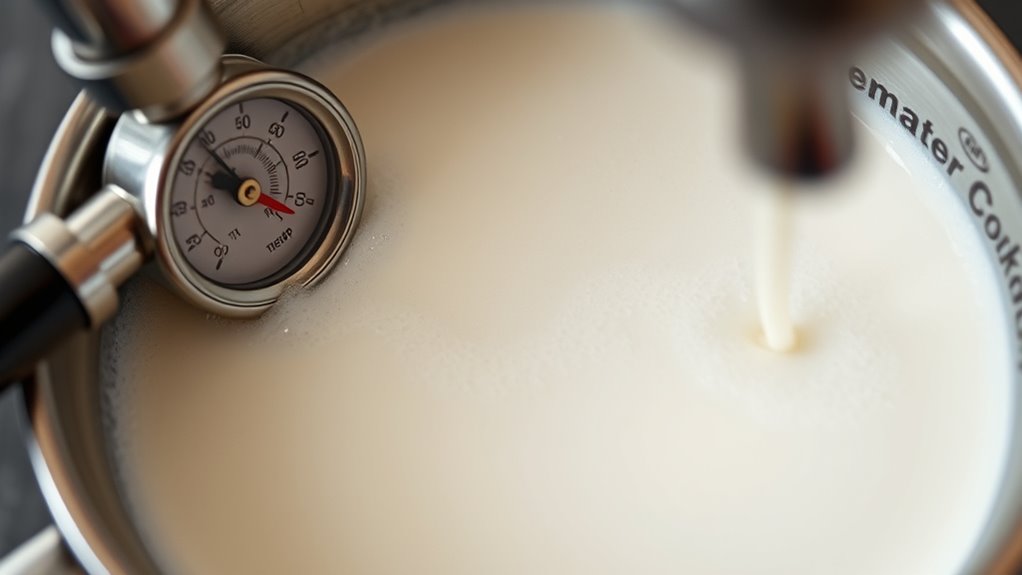
When it comes to steaming milk, two things you gotta nail are temperature control and steam wand positioning. Keep your milk between 150-160°F, or you risk burnt milk—yuck! And don’t forget to position that steam wand just below the surface for perfect aeration. A little tilt goes a long way for a smooth swirl. Trust me, you’ll be serving up café-quality drinks in no time. There’s more to master, so stick around for some handy tips!
At a Glance
- Temperature: Maintain the ideal steaming temperature between 150-160°F (65-71°C) to prevent burnt milk and enhance flavor.
- Steam Wand Positioning: Position the steam wand just below the milk surface to incorporate air effectively for microfoam.
- Aeration Duration: Control aeration time to a few seconds to achieve small bubble size and prevent excessive air in the milk.
- Milk Quality: Use fresh, high-quality milk to ensure a creamy texture and stable microfoam.
- Mixing After Steaming: Always mix the milk after steaming to achieve a consistent texture and avoid large bubbles.
Temperature Control
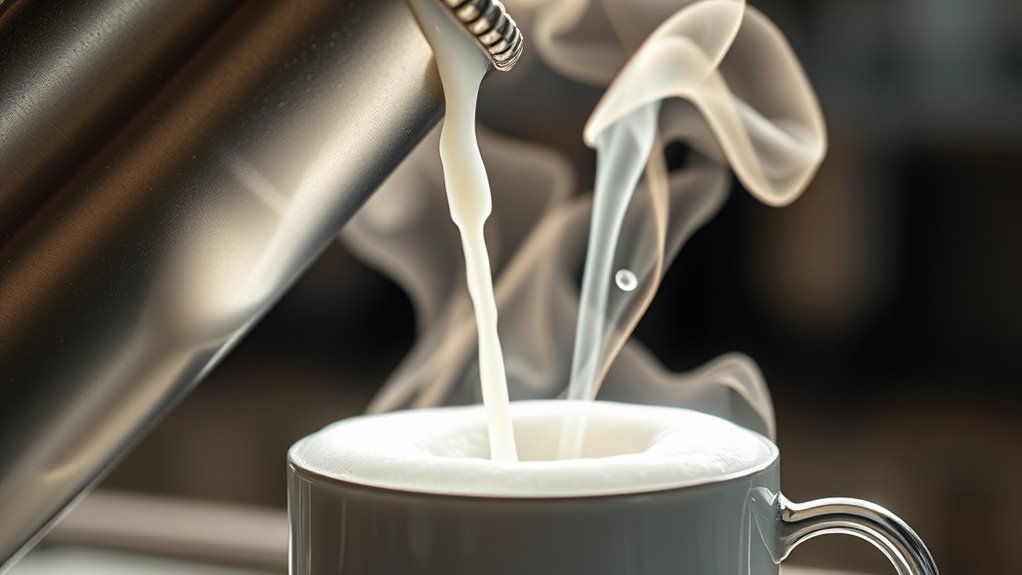
When you’re steaming milk, keeping an eye on the temperature is super important, because nobody wants a burnt latte!
You want that creamy texture and sweet flavor, right? Aim for that ideal range of 150-160°F (65-71°C).
Use a contactless digital thermometer for easy temperature monitoring. Just remember, once you stop steaming, the milk can heat up another 10°F (5°C), so don’t go overboard!
If you nail this, you’ll be the latte hero among your friends. Trust me, nobody’s going to complain about your perfectly steamed milk.
It’s all about keeping it cozy, not scorched! Additionally, the choice of milk type for frothing can significantly impact the final texture and taste of your steamed milk.
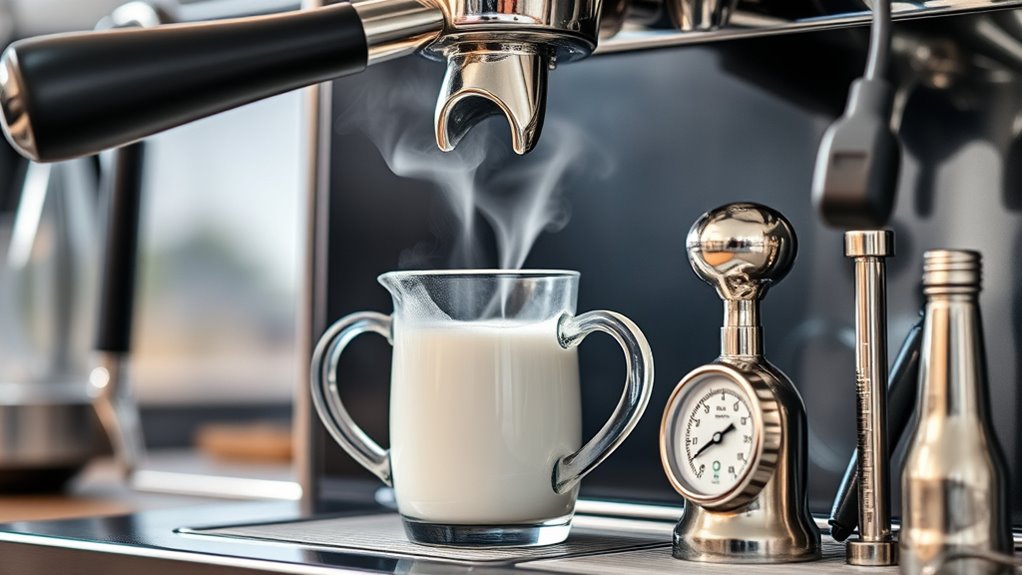
Steam Wand Positioning
Getting the steam wand just right can feel like a secret art, but don’t sweat it—once you get the hang of it, you’ll be swirling up some epic microfoam in no time!
First, remember wand depth: keep it just below the milk surface for that sweet air incorporation. If it’s too deep, you’ll miss out on microfoam magic.
Keep the steam wand just below the milk’s surface for perfect air incorporation and microfoam magic!
Now, let’s talk wand angle—tilt it to one side of the jug to create a smooth vortex. A gentle jug tilt helps too, controlling that swirl without massive bubbles.
To achieve the best results, consider investing in the best automatic espresso machine that can help you perfect your milk steaming technique.
Nail these tricks, and you’ll be the barista everyone envies!
Aeration Techniques
Mastering aeration techniques can feel like revealing a secret level in the game of steaming milk. You’ve got to get that aeration duration just right—only a few seconds to let in air without going overboard. Aim for small bubble size; it’s all about that silky texture!
Tilt your jug just so, letting the milk swirl smoothly, avoiding any turbulence. It’s like dancing with your milk! Remember, while it expands, keep an eye on the volume to prevent overflow. The right at-home milk steamer can make a significant difference in achieving that perfect froth.
With practice, you’ll be creating perfectly aerated milk like a pro, bringing your coffee game to the next level. Let’s get frothing!
Milk Texture and Microfoam
Now that you’ve got the hang of aeration, let’s chat about the magic of milk texture and microfoam.
Getting this right is essential to crafting that perfect cappuccino or latte.
- Aim for a creamy, velvety microfoam.
- Keep the milk temperature around 65°C (150°F).
- Watch for that glossy surface; it means quality!
- Consistent movement is vital for texture consistency.
- Remember, large bubbles? Not your friend!
Focus on microfoam stability, my friend.
Master the art of microfoam stability for drinks that are as delightful to the eyes as they are to the palate!
If you nail this, your drinks won’t only look stunning but taste heavenly. The ideal milk temperature is crucial for achieving that perfect foam consistency.
Let’s make those coffee dreams come true!
Equipment Preparation
Before you plunge into steaming that milk, let’s chat about getting your equipment ready, shall we?
First up, give your steam wand a good purge. Trust me, you don’t want any leftover water messing with your milk. Check for blockages—clean is key!
Preheat that wand too, so your milk doesn’t get a chilly surprise.
Now, position your jug off-center for a perfect whirlpool, and don’t forget to calibrate your machine properly. Ensuring that the espresso tamper is used properly can also help achieve the perfect milk texture.
Hygiene Practices
Keeping your steam wand clean is like keeping your favorite coffee mug free of old coffee stains—absolutely essential!
To keep up those hygiene standards, here are some quick tips to make your cleaning routines a breeze:
Maintaining hygiene is simple with these quick tips for effortless steam wand cleaning!
- Wipe the wand after each use.
- Purge steam to clear milk residue.
- Use dedicated cloths for each machine.
- Deep clean weekly with proper solutions.
- Inspect regularly for buildup.
Additionally, remember to store your coffee beans in an airtight container to maintain their freshness and flavor.
Timing and Process Control
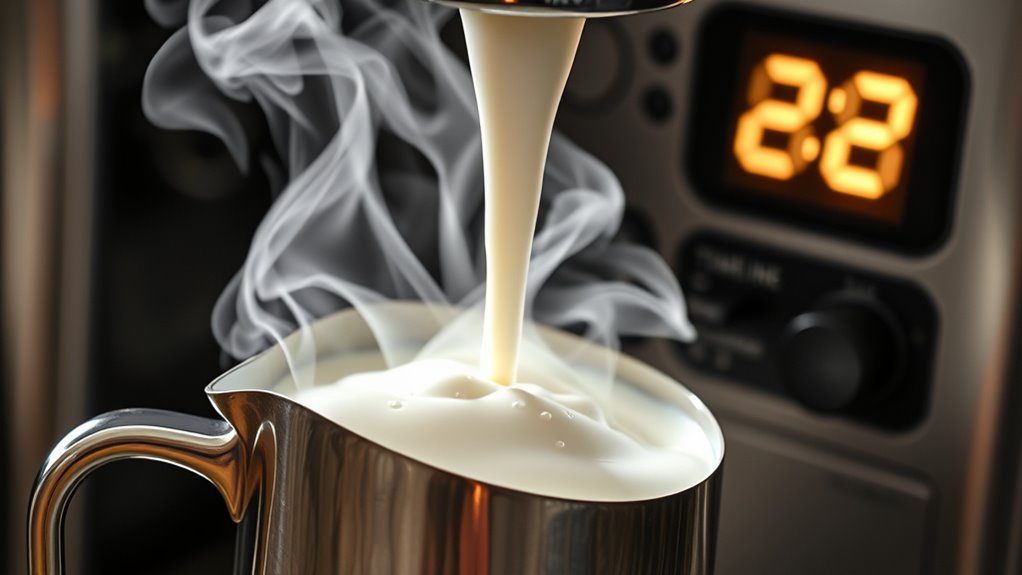
When you’re steaming milk, timing and process control are key to creating that perfect froth that makes your coffee drinks pop! With the right timing techniques, you can achieve silky microfoam that’ll wow your friends. Check out this handy table for quick tips:
| Timing Aspect | Key Point |
|---|---|
| Initial Stretching | Start at cold milk, below 100°F |
| Duration | 20–30 seconds on strong machines |
| Temperature Cutoff | Stop before 155°F |
| Vortex Control | Maintain a smooth spin |
| Air Incorporation | Listen for that “sizzling” sound |
Embrace these tips for better process efficiency—you’ll be the milk-steaming hero in no time! Additionally, understanding the best cappuccino machine can further enhance your frothing skills.
Common Mistakes to Avoid
Getting that perfect froth isn’t just about timing and technique—it’s also about steering clear of some common pitfalls that can turn your milk into a hot mess.
Here are a few mistakes you really want to avoid:
- Not purging the steam wand
- Holding the steam tip too low or high
- Ignoring milk quality and using old milk
- Adding too little or too much air
- Forgetting to mix after steaming
Keep an eye on bubble formation, too.
Large bubbles can ruin your silky texture. Also, using non-dairy creamers can enhance the flavor while maintaining that creamy goodness. So, let’s nail that frothing and enjoy some creamy goodness together!