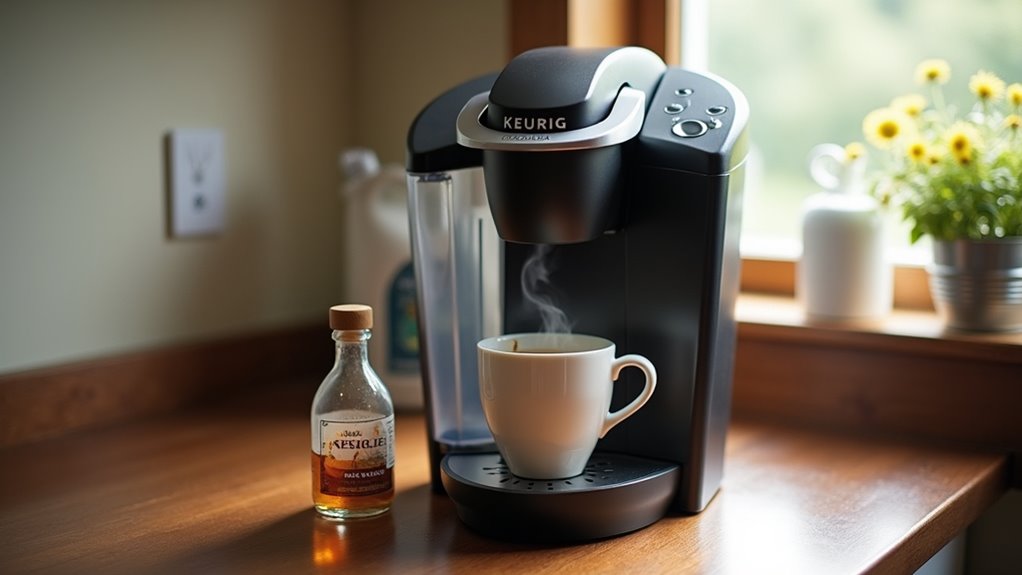

So, your Keurig just won’t descale? Ugh, that’s frustrating! It might be hard water, clogged needles, or maybe you forgot to empty the reservoir. Don’t worry, it happens to the best of us! If you’ve got old filters or skipped brew cycles, that could be the culprit too. Let’s tackle these issues together, and soon you’ll be sipping that perfect cup of joe again. Stick around to uncover more tips to get your Keurig back in shape!
At a Glance
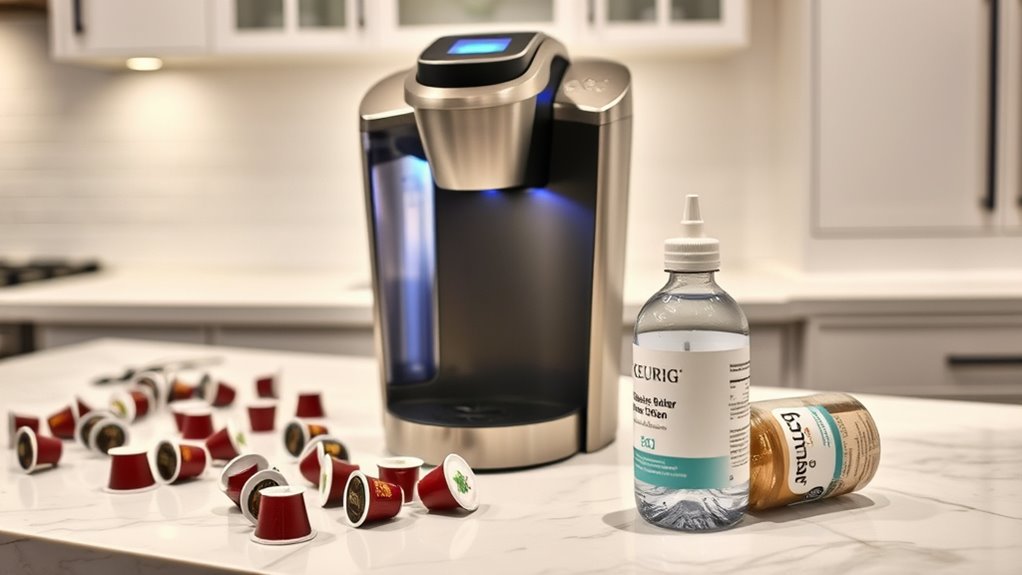
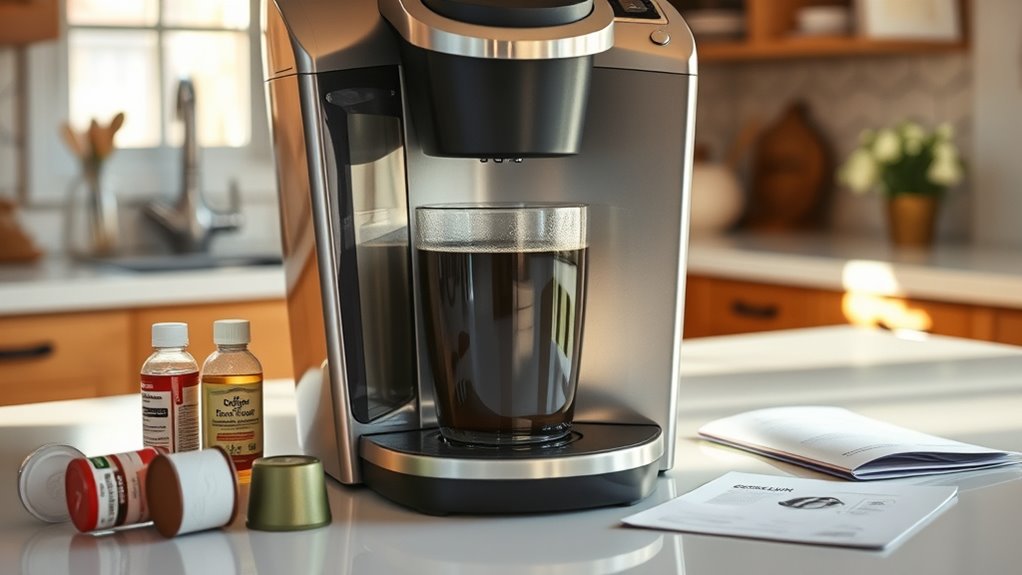
- Ensure you are using the correct descaling solution, as some models require specific products for effective descaling.
- Check for clogged needles or valves, which can obstruct water flow and hinder the descaling process.
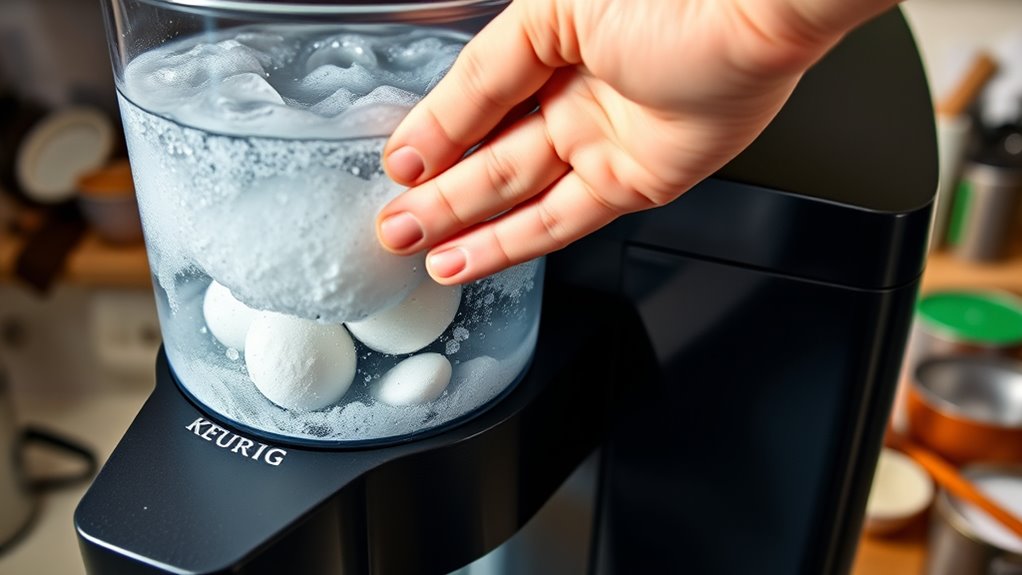
- Make sure to empty the water reservoir completely before starting the descaling cycle to maintain solution concentration.
- Verify that you have removed any K-Cups, as leaving them in can interfere with the descaling effectiveness.
- Monitor the machine’s indicator lights, as some models disable brewing during descaling, requiring attention to prompts.
Common Causes of Descaling Issues
Have you ever wondered why your beloved Keurig just won’t cooperate when it’s time to descale? You might be facing some common culprits!
First off, using too little or the wrong type of descaling solution can seriously mess with descaling effectiveness.
Using an inadequate or incorrect descaling solution can really hinder your Keurig’s descaling success.
Clogged needles or valves? Yep, they can block water flow, making your descaling efforts futile.
Also, don’t skip those cycles! Incomplete descale sessions leave scale behind.
And if you’re using hard water, well, good luck! Remember, water quality plays a crucial role in brewing, so using the right type can help prevent future descaling issues.
Keep an eye out for these issues, and your Keurig will be back to brewing your favorite cup in no time!
Machine-Specific Requirements
If your Keurig’s still giving you the cold shoulder during descaling, it might be time to check out the machine-specific requirements.
Each model has its quirks, like needing to remove the water filter or empty the reservoir completely. So, pay attention to those descaling instructions!
Using the right descaling solution can make or break the process, especially if you’re rocking a newer model. Effortless tips for cleaning can help streamline your descaling efforts.
And remember, some machines disable brewing while descaling, so follow the steps to the letter.
Trust me, a little patience goes a long way, and soon you’ll be back to brewing those delicious cups of coffee!
Operating Errors During Descaling
Why do things always seem to go wrong when you’re trying to clean your Keurig? It’s like a scene from a comedy!
User errors can really mess up the descaling process. Forgetting to empty the water reservoir or leaving K-Cups in can lead to a weak solution concentration.
And don’t get me started on skipping those significant brew cycles—yikes! You might think you’re done, but that’s when the mineral deposits laugh at you.
Remember, it’s vital to monitor those indicator lights, too. Additionally, using the right descaling solution can significantly enhance the effectiveness of the cleaning process.
Hardware and Maintenance Problems
Cleaning your Keurig can feel like a game of whack-a-mole, especially when hardware and maintenance problems pop up to ruin your coffee-cleaning fiesta.
If you’ve skipped regular maintenance, your machine might be experiencing hardware stress, leading to clogs, leaks, or even malfunctioning sensors. Trust me, those stubborn scale deposits love to play hide-and-seek!
Plus, if you’ve got old water filters or haven’t rinsed properly, it’s time to step up your game. Don’t let maintenance neglect ruin your brew. Proper coffee storage techniques can also help reduce the buildup of scale and improve your machine’s performance.
Water Quality Impact
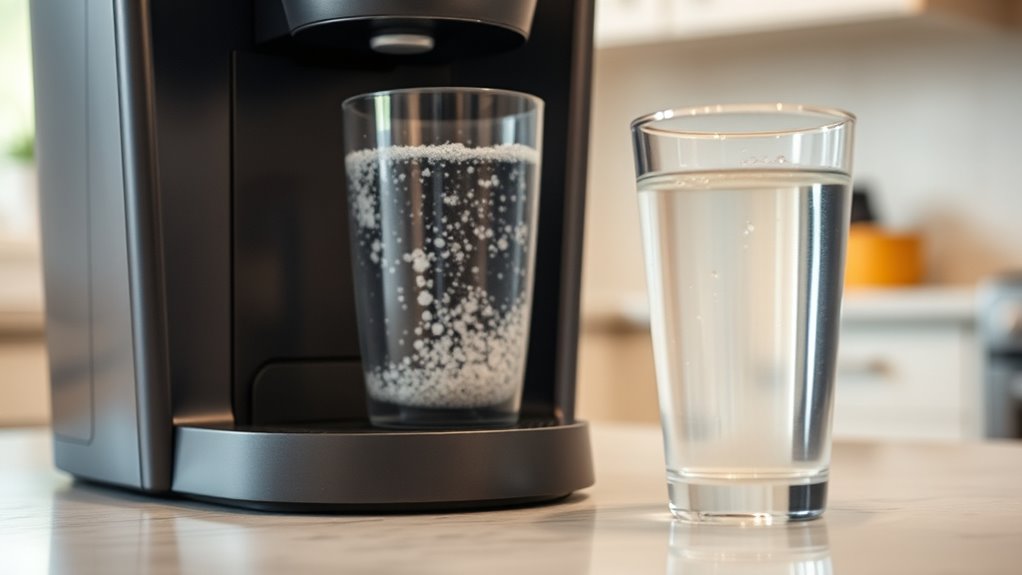
You know what’s wild? The water you use can seriously impact your Keurig’s performance!
If you’ve got hard water, that means high levels of calcium and magnesium, which leads to annoying mineral buildup. You might find yourself descaling every three months or less!
But switch to filtered or softened water, and you’ll notice a difference. Not only will your descaling intervals stretch out, but your coffee will taste way better too. Plus, using the right water helps your Keurig last longer, so you can keep sipping that perfect brew without the hassle of constant repairs. Cheers to better coffee! Additionally, using the right water quality can prevent scale buildup and enhance the overall coffee experience.
Troubleshooting Steps
When your Keurig refuses to cooperate during the descaling process, it can feel like a real coffee catastrophe!
First, make sure you’ve given that descaling solution enough time to work its magic—at least 30 minutes, folks! If you’ve interrupted the cycle or haven’t rinsed properly afterward, that pesky descale light might just hang around.
Check for clogs in the needles or water lines, too. And don’t forget those solution ratios! Using a non-dairy creamer can also help reduce mineral buildup in your machine.
If your machine’s still acting up, try a power cycle or reset—your Keurig might just need a little pep talk to get back on track!
Importance of Regular Maintenance
Keeping your Keurig running smoothly is like giving your favorite coffee buddy a little TLC. Regular cleaning is key, especially in spots like the drip tray where mold loves to hang out.
Give your Keurig some TLC with regular cleaning to keep it mold-free and brewing your perfect cup!
You don’t want stale water brewing your coffee, right? So, make it a habit to empty and clean the reservoir often.
And don’t forget about filter maintenance! Change that water filter every two months to keep your coffee fresh and flavorful.
A clean machine not only tastes better, but it also lasts longer. So, give your Keurig the care it deserves, and it’ll keep you caffeinated and happy! Additionally, using vinegar cleaning tips can help effectively remove mineral buildup and keep your machine in top shape.
Signs Your Keurig Needs Descaling
Ever wonder if your Keurig is trying to send you a little SOS? If you’re noticing any of these descaling indicators, it might be time to pay some attention:
- Descaling light’s on
- Your coffee’s tasting weak or off
- Brewing times are slower than molasses
- You hear gurgling or sputtering noises
These signs show your machine needs a little TLC, especially if you’ve been skipping descaling frequency. Regular maintenance, including proper descaling techniques, is essential for keeping your coffee maker in top shape.
Don’t ignore these hints, or your coffee dreams could turn into a nightmare! Keeping your Keurig clean means more delicious brews and fewer headaches.
When to Seek Professional Help

If your Keurig’s been throwing tantrums, it might be time to contemplate calling in the pros.
Persistent issues, like weak water flow or that pesky clean light refusing to turn off, signal a need for professional services. If you notice strange sounds or your machine’s just not cooperating, don’t hesitate to explore repair options.
Weak water flow or a stubborn clean light? It might be time to call in the repair pros for help!
Models like the K155 can have unique quirks that require specialized help. Additionally, a coffee maker with grinder can sometimes offer a more reliable brewing experience, so consider exploring alternatives.
And remember, safety first! If you’re facing electrical issues, it’s best to let a professional handle it. You want your coffee experience to be smooth, not a caffeine-fueled horror show!