

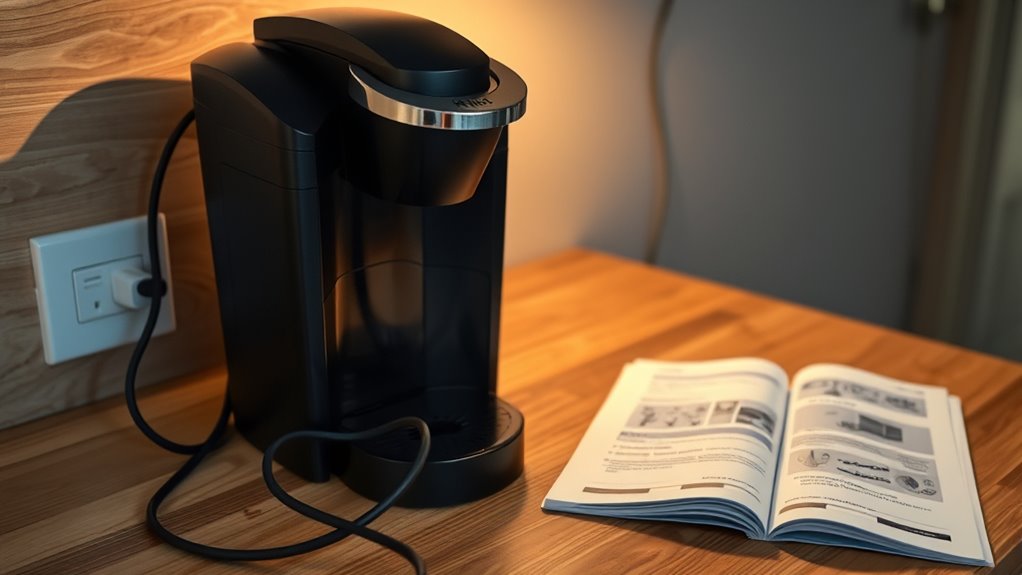
If your Keurig won’t turn on and the lights are as dark as my Monday mornings, don’t panic! First, check if it’s plugged in and if the outlet’s working—try another device to be sure. Give it a power cycle: unplug it, wait for about 10 minutes, then plug it back in. And don’t skip checking the water reservoir; it should be clicked in nicely. Stick around, and I’ll share more handy tips to get your brew back on track!
At a Glance
- Ensure the Keurig is securely plugged into a working outlet, and test the outlet with another appliance.
- Inspect the power cord for any visible damage or wear that could prevent power flow.
- Perform a power cycle by unplugging the machine for 10 minutes, then plugging it back in.
- Check if the water reservoir is properly seated and aligned, as improper placement can affect performance.
- Look for blown fuses or tripped breakers in your electrical panel that may be interrupting power supply.
Common Electrical Issues to Check
So, what do you do when your beloved Keurig just won’t turn on?
First, check that it’s plugged into a working outlet. You don’t want to be that person who discovers they’re not outlet compatible!
Test other appliances in the same spot to confirm it’s not a power surge causing the hiccup. If the outlet’s fine, inspect the cord for any wear—no one wants a shocking surprise!
Also, try pressing the power button like you mean it. Sometimes, it just needs a little love.
If all else fails, switching outlets might save the day. Additionally, ensure that the power supply is compatible with your specific model, as some machines, like the Keurig K-Slim, have unique requirements.
Happy brewing!
Power Cycling Your Keurig
If your Keurig’s still playing hard to get after checking the outlet, it might be time to give it a little reset love through power cycling. This simple trick can work wonders! Just unplug it, remove the water reservoir, and wait for about 10 minutes. Then, plug it back in and hit that power button. You’ll be amazed at the power cycling benefits! Regular maintenance, such as keeping your Keurig clean, can also prolong its life.
| Step | Action |
|---|---|
| Unplug | Disconnect from the outlet |
| Remove Reservoir | Take it out, set aside |
| Wait | Chill for 10 minutes |
| Plug Back In | Reconnect to power |
| Press Power Button | Check for lights |
Power cycling frequency can even keep your coffee maker running smooth. Cheers to coffee!
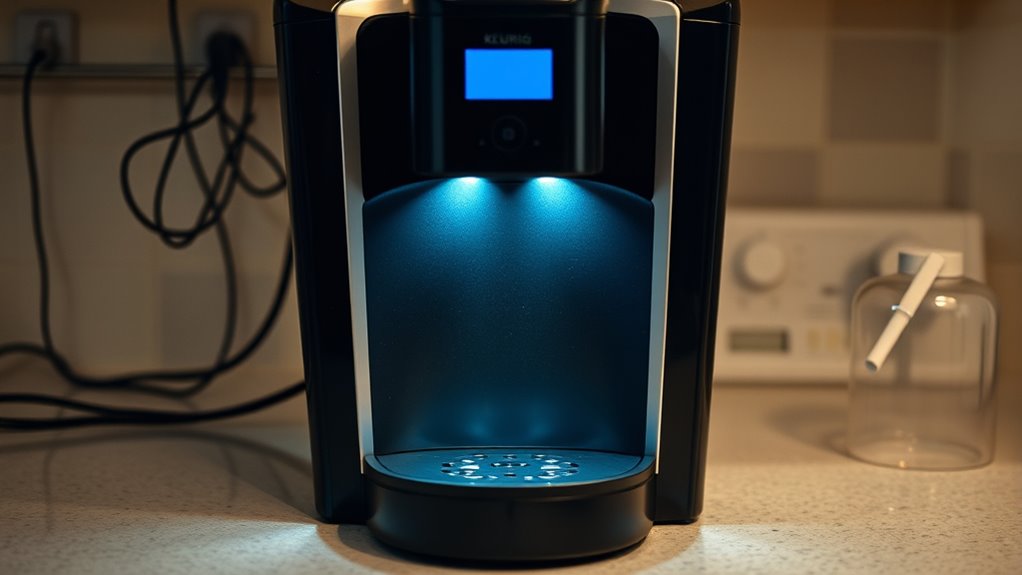
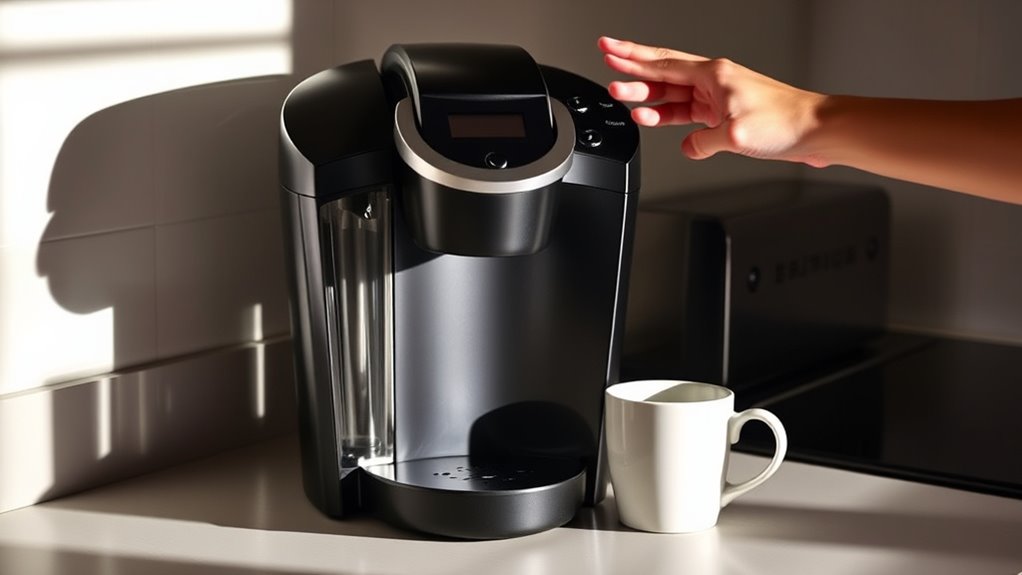
Ensuring Proper Water Reservoir Placement
When you’re brewing that perfect cup of coffee, you mightn’t think about where the water reservoir sits, but trust me, it matters!
Brewing that perfect cup of coffee? Don’t overlook the water reservoir’s placement—it really does make a difference!
For your Keurig to work its magic, verify the reservoir alignment is spot on. If it’s not securely in place, you could face some major coffee drama!
Try positioning it on the right for easy filling or at the back for a clean counter look. Just make certain it’s stable, and you’re golden.
A little wiggle can help, but listen for that satisfying ‘click’ to know it’s ready to rock. Remember, using bottled or spring water can enhance your coffee’s flavor and keep your machine in top shape.
Happy brewing, coffee pals!
Diagnosing Internal Component Failures
After making sure your water reservoir is snug and ready to go, it’s time to tackle what might be lurking inside your Keurig. You might need to run some component diagnostics to find the culprit behind those pesky no lights. Check the power supply, wiring, and any sensor failures that could be causing the issue. Here’s a handy table to help you out:
| Issue | Action |
|---|---|
| Power supply failure | Check the cord and outlet |
| Sensor malfunction | Inspect water level and thermostat |
| Wiring issues | Look for breaks near hinges |
| Control board damage | Consider pro help if needed |
Regularly cleaning your Keurig can also help prevent these issues from occurring. Get ready to troubleshoot!
Firmware and Control System Considerations
You might be scratching your head, wondering why your Keurig just won’t turn on, but don’t worry, you’re not alone!
Sometimes, it’s all about those sneaky firmware updates and control logic that keep things running smoothly. If the firmware’s having a bad day, it could stop your machine from even lighting up.
Maybe it’s stuck in a fail-safe mode, or a sensor’s playing hard to get. If the control board’s not communicating, those lights might stay dark. Additionally, compatible K-Cup pods can sometimes interfere with the brewing process if not recognized by the machine.
Maintenance Tips for Longevity
Keeping your Keurig in tip-top shape can feel like a chore, but trust me, it’s worth it! A little maintenance goes a long way, and setting a cleaning schedule can keep your coffee buddy brewing perfectly. Don’t forget about water quality; using filtered water helps reduce mineral buildup, extending your machine’s life! Regular cleaning is crucial for maintaining optimal performance, similar to how grind type options influence the quality of your coffee.
| Task | Frequency |
|---|---|
| Descale | Every 3-6 months |
| Clean water reservoir | Weekly |
| Change water filters | Every 2 months |
| Wipe exterior | Weekly |
| Inspect power cord | Monthly |
Let’s keep that coffee flowing!
Testing Power Outlets for Functionality
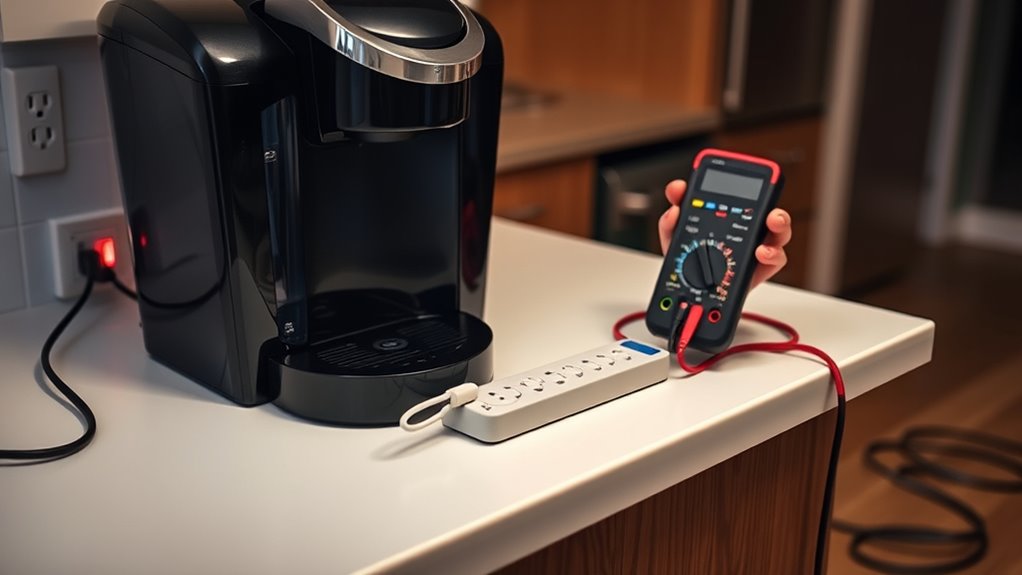
Ever wonder why your Keurig isn’t turning on? Before you panic, let’s do some outlet testing!
First, make sure your machine’s plugged in tight—no loose connections allowed. Try plugging in a lamp or phone charger to see if the outlet’s got electrical integrity.
If that doesn’t work, grab a multimeter and check for power—standard voltage is about 120V. Don’t forget to check your circuit breakers, too! Additionally, ensure that your coffee maker is made with BPA-free materials to avoid any potential health risks associated with plastic components.
Identifying and Fixing Thermal Switch Issues
When your Keurig refuses to turn on, it can feel like a personal betrayal, especially if you’re craving that morning coffee fix. One sneaky culprit could be the thermal switch. It’s like your coffee machine’s safety net, tripping when it overheats. To check it, you’ll need to do some thermal switch testing with a multimeter. If it’s tripped, you might hear a click! Reset it by pressing that little button inside. If it’s toast, you’ll need a thermal switch replacement. Just remember, always seat your water reservoir snugly to avoid future drama. Your coffee deserves better! Additionally, ensuring that the ultimate K Cup coffee maker is properly maintained can help prevent such issues in the first place.
Troubleshooting Touchscreen Control Problems
So, what do you do if your Keurig’s touchscreen is playing hide and seek?
First, try a good ol’ touchscreen cleaning—grab a soft cloth and wipe it down gently.
If that doesn’t do the trick, it might need some touchscreen calibration. Unplug your brewer for a few minutes, then plug it back in.
Check those connectors too; they can get loose over time! Additionally, ensure that your Keurig is compatible with single cup coffee makers, as this could affect its functionality.
If you’re still stuck, don’t hesitate to reach out to Keurig support.
Preventative Measures for Avoiding Power Issues
While it might seem like your Keurig has a mind of its own, you can actually take some fun and easy steps to keep those power issues at bay!
Regular preventative cleaning is key—clean the water reservoir weekly with vinegar and water to avoid pesky mineral buildup.
Regularly cleaning your water reservoir with vinegar and water helps prevent annoying mineral buildup—keep your coffee flowing smoothly!
Make sure you handle your machine gently, too. If you’re giving it a little love during maintenance, unplug it first!
Always check that the water reservoir is seated properly—trust me, it makes a difference.
Additionally, consider investing in an eco-friendly coffee maker to minimize your environmental impact while enjoying your daily brew.
With proper handling and care, you can keep your coffee buddy running smoothly and happily! Cheers to hassle-free brews!